Identifying storm damage to your roof is crucial for homeowners, especially in Texas where extreme weather conditions like tornadoes, high winds, lightning, hail, and heavy rain are common. Here are eight signs of storm damage to your roof, along with descriptions of what the damage might look like:
Table of contents
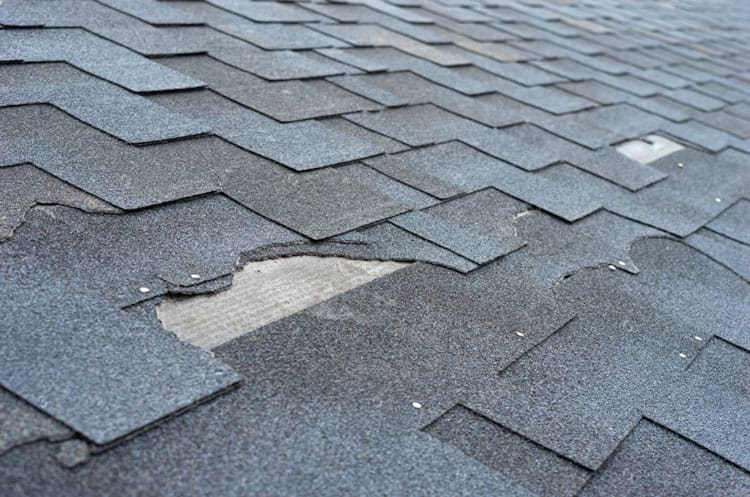
1. Missing or Broken Shingles
After a storm, check for shingles that are completely missing or visibly cracked, curled, or torn. High winds and hail can dislodge or break shingles, leaving your roof vulnerable to leaks. This type of damage can be difficult to spot from the ground, we are here to assist you along the way and take your stress away.
2. Dented or Damaged Flashing
Flashing, the metal strips around chimneys, vents, and other roof openings, can get bent, dented, or punctured by hail or flying debris. Damaged flashing can lead to water seepage into your home.
3. Granule Loss
Shingles are coated with granules that protect them from UV rays and impact. Look for excessive granule accumulation in your gutters or downspouts. Hail and heavy rain can strip these granules off, reducing the shingles’ effectiveness and lifespan. Althought this may seem like a minor issue, it is nothing to ignore. Call Good Faith Energy to ensure your roof stays in top condition!
4. Water Stains on Ceilings or Walls
Discolored patches on your ceiling or walls often indicate water infiltration. This can be caused by roof leaks due to missing shingles, damaged flashing, or punctures from debris.
5. Dented Gutters and Downspouts
Inspect your gutters and downspouts for dents or other damage. Hailstones can cause significant dents, which may not only indicate roof damage but also affect the water drainage system of your home.
6. Sagging Roof Deck
If parts of your roof appear to be sagging or uneven, it could indicate structural damage. Prolonged exposure to water or heavy impacts from debris can weaken the roof deck, leading to sagging or even collapse if not addressed.
7. Visible Punctures or Holes
High winds and falling branches during storms can cause direct punctures or holes in your roof. These are often visible as noticeable gaps or holes when viewed from the attic or the roof itself.
8. Mold or Mildew Growth
Persistent moisture from leaks can lead to mold or mildew growth on your roof’s exterior or in your attic. This not only indicates a leak but can also pose health risks if not addressed promptly.
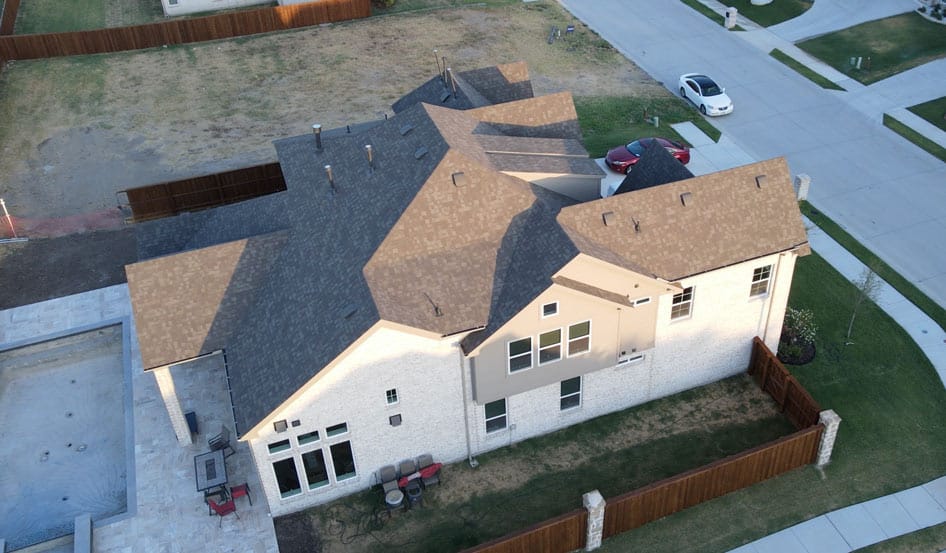
How to Inspect for Damage
- Visual Inspection: Walk around your home and use binoculars to inspect the roof from the ground. Look for any obvious signs of roof damage such as missing shingles, dents, or sagging.
- Attic Inspection: Check your attic for signs of leaks, including water stains, damp insulation, or visible light coming through the roof.
- Professional Inspection: If you suspect significant damage or if it’s unsafe to inspect the roof yourself, hire a professional roofer to conduct a thorough inspection. Our certified and licensed drone pilots will perform a thermal drone inspection, to give you the best visual of your roof’s potential damage. Other companies will just glance at your roof from the ground or a ladder, not giving a full aerial view and potentially not identifying unseen damage, leading to less money back from your insurance.
What to Do if You Find Damage
- Document Everything: Take photos and notes of all damage you find. This will be crucial for insurance claims.
- Temporary Repairs: Use tarps or other temporary measures to prevent further water damage until permanent repairs can be made.
- Contact Your Insurance Company: Report the damage to your insurance company as soon as possible to begin the claims process.
- Hire a Reputable Contractor: Choose a licensed and insured roofing contractor to perform repairs. Avoid storm chasers and unlicensed contractors who may offer quick fixes at a low cost. Good Faith Energy has a service team that will take care of your home from initial drone analysis, to ensuring your roof & panels are back to good as new.
By being vigilant and acting quickly, you can mitigate the damage to your home and ensure that your roof is restored to its proper condition.

How To File An Insurance Claim
Filing an insurance claim for roof damage involves several steps to ensure that you receive the compensation you need to repair or replace your roof. Here’s a detailed guide to help you through the process:
1. Document the Damage
- Take Photos and Videos: Immediately after the storm, take clear, detailed photos and videos of all visible damage to your roof, both exterior and interior (e.g., water stains on ceilings or walls).
- Keep Records: Maintain a record of any emergency repairs you perform to prevent further damage, including receipts and documentation of the work done.
2. Review Your Insurance Policy
- Understand Your Coverage: Review your homeowner’s insurance policy to understand what types of damage are covered and what your deductibles are.
- Check for Exclusions: Look for any exclusions or limitations in your policy that might affect your claim, such as specific coverage for wind, hail, or water damage.
3. Contact Your Insurance Company
- Report the Damage: Notify your insurance company as soon as possible to report the damage and start the claims process.
- Provide Initial Information: Make sure to provide details about the extent of the damage, the date of the storm, and any immediate repairs you’ve made.
4. Schedule an Inspection
- Insurance Adjuster Visit: The insurance company will likely send an adjuster to inspect the damage. The adjuster will assess the extent of the damage and estimate the cost of repairs or replacement.
- Prepare for the Visit: Be present during the inspection to answer any questions and provide additional documentation. You may also point out any damage the adjuster might miss.
5. Get Repair Estimates
- Hire a Roofing Contractor: Contact our service team to get a detailed written estimate for the needed storm roof damage repairs or replacement. Ensure the contractor is licensed and insured, luckily our team is 5 star rated and has over 500 reviews to give you the confidence in choosing us to fix your home.
- Compare Estimates: It’s a good idea to get multiple estimates to compare prices and services offered.
6. Submit Your Insurance Claim
- Complete Claim Forms: Fill out any necessary claim forms provided by your insurance company. Include all requested documentation, such as photos, repair estimates, and receipts for temporary repairs.
- Submit Documentation: Provide the insurance company with all the evidence of the roof damage, including the contractor’s estimate and any other supporting documents.
7. Approve the Settlement
- Negotiate if Necessary: If you believe the settlement is too low, you can negotiate with the insurance company or provide additional evidence to support your claim.
- Accept the Offer: Once you agree with the settlement, the insurance company will disburse the funds to you or directly to the contractor, depending on your policy.
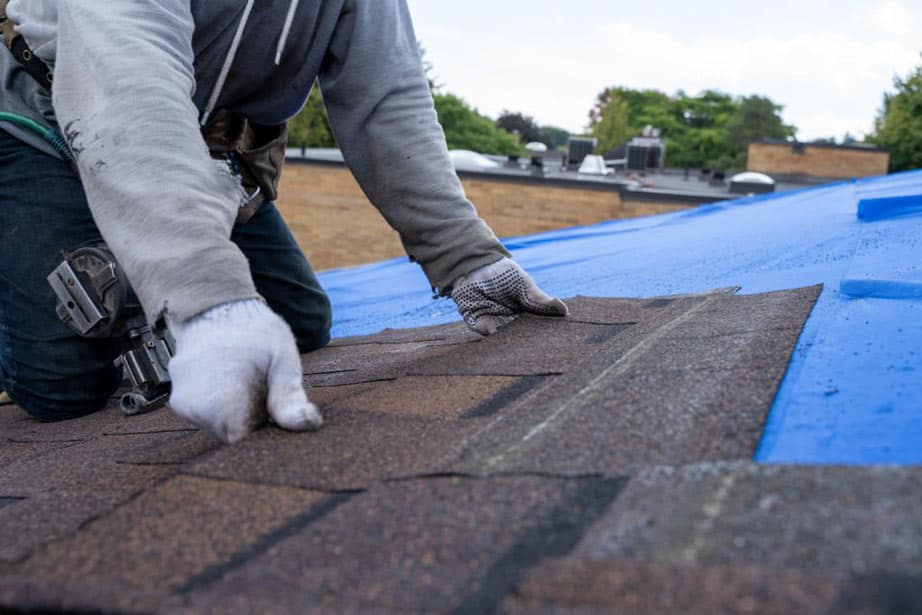
8. Complete the Repairs
- Hire a Contractor: Once you receive the settlement funds, hire your chosen contractor to complete the roof repairs or replacement.
- Ensure Quality Work: Monitor the repair work to ensure it meets your expectations and the terms of the contractor’s estimate.
9. Final Inspection
- Verify Completion: Inspect the work after the repairs are completed to ensure everything is done correctly and to your satisfaction.
- Inform the Insurance Company: Notify your insurance company once the work is completed. They may send an adjuster for a final inspection to verify the repairs.
Follow these steps to effectively navigate the insurance claims process and ensure proper repair or replacement of your roof.